How to waterproof LED lights

Waterproof LED lights play a crucial role in various settings, ensuring durability and longevity. These lights are extensively utilized both indoors and outdoors, such as in kitchens, bathrooms, or outdoor landscapes. Understanding the significance of Waterproof LED lights is essential to prevent damage and maintain optimal functionality. The process of waterproofing these lights involves specific steps that guarantee their effectiveness in different environments.
Understanding LED Lights and Waterproofing
Basics of LED Lights
Exploring the functionality of LED lights reveals their efficiency in converting electricity into light. This process minimizes energy wastage and ensures a longer lifespan compared to traditional lighting sources.
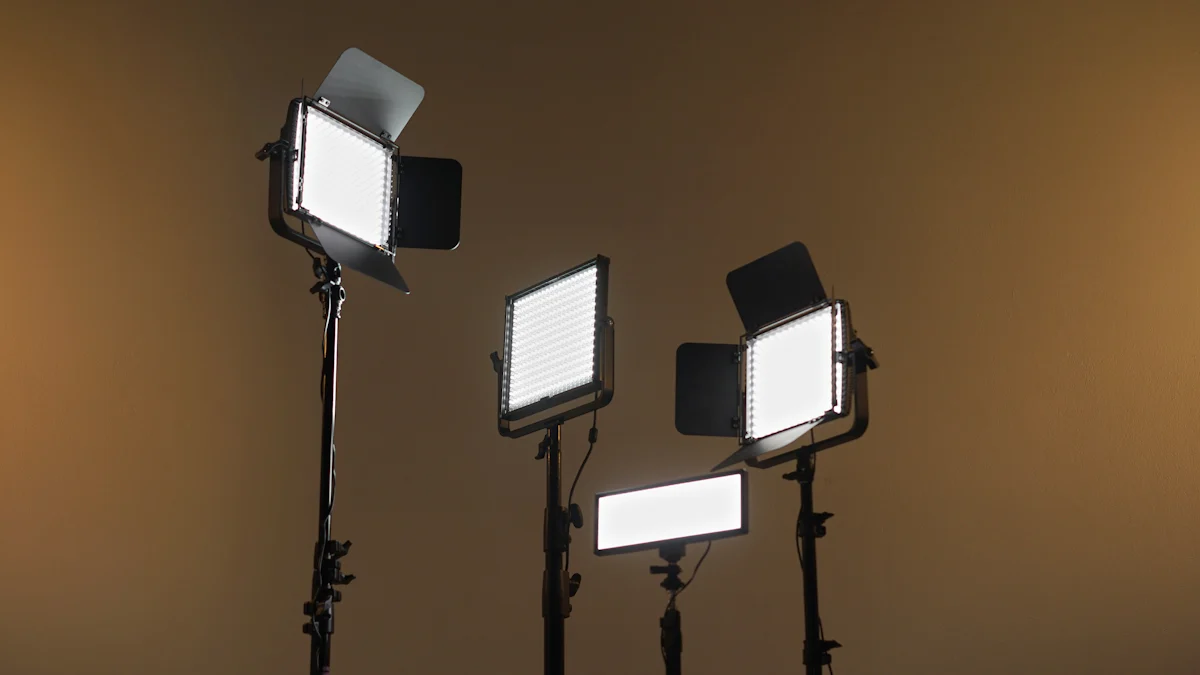
LED lights come in various types tailored for specific applications, such as Commercial LED Panel Lighting Fixtures used in large areas like conference rooms and healthcare facilities, providing uniform illumination with minimal glare.
What is Waterproofing?
The essence of waterproofing lies in safeguarding electronic components from moisture and external elements that could compromise their functionality. It prolongs the life of devices like LED lamps, ensuring consistent performance even in challenging environments.
Commonly used materials for waterproofing include sealants and silicone sleeves, offering protective layers that shield LED lights from water damage effectively.
Understanding IP Ratings
An IP (Ingress Protection) rating classifies the degree of protection provided by enclosures against solid objects and liquids. Different levels, such as IP65 and IP68, indicate varying degrees of resistance to dust and water infiltration.
Choosing the appropriate IP rating is crucial when selecting LED lights for specific settings like retail spaces or outdoor installations to ensure durability and optimal performance.
Preparing for Waterproofing
Gathering Necessary Materials
List of materials needed:
LED strip lights suitable for waterproofing.
Waterproof sealant or silicone sleeves.
Cleaning supplies (isopropyl alcohol, lint-free cloth).
Scissors or wire cutters for adjustments.
Heat gun or lighter for sealing connections.
Where to source materials:
Local Hardware Stores: Visit hardware stores in your area to find a variety of LED strip lights and waterproofing materials.
Online Retailers: Explore online platforms offering a wide selection of LED lighting products and accessories for convenient purchasing.
Safety Precautions
Handling electrical components:
Power Off: Always disconnect the power source before handling any electrical components to prevent accidents.
Avoid Water Contact: Refrain from working on LED lights near water sources to minimize the risk of electrical hazards.
Proper Insulation: Ensure all connections are well-insulated to prevent short circuits and potential damage.
Personal protective equipment:
Safety Gloves: Wear protective gloves to shield your hands from sharp edges while handling LED strip lights and tools.
Eye Protection: Use safety goggles to protect your eyes from debris or accidental splashes during the waterproofing process.
Well-Ventilated Area: Work in a properly ventilated space to avoid inhaling fumes from sealants or cleaning agents.
By following these steps and taking necessary precautions, you can effectively prepare for the waterproofing process of LED lights, ensuring both safety and successful outcomes.
Step-by-Step Guide to Waterproofing LED Lights
Cleaning the LED Lights
To prepare Waterproof LED lights for the waterproofing process, start by cleaning them thoroughly. This ensures that no dust or debris interferes with the sealing later on. Here's how to effectively clean the lights:
Removing dust and debris
Use a soft brush or a lint-free cloth to gently remove any visible dust particles from the surface of the LED lights.
Pay close attention to crevices and corners where dirt may accumulate, ensuring a comprehensive cleaning process.
Ensuring a clean surface for waterproofing
Wipe down the LED lights with isopropyl alcohol and a clean cloth to eliminate any remaining residue or grease.
Allow the lights to dry completely before proceeding with the waterproofing steps to ensure optimal adhesion of sealants or silicone sleeves.
Applying Waterproofing Sealant
Once the Waterproof LED lights are clean and dry, it's time to apply a suitable sealant for protection against moisture and external elements. Understanding the types of sealants available and following a precise application process is crucial for effective waterproofing.
Types of sealants
Silicone-based sealants: Known for their flexibility and durability, silicone sealants provide excellent protection against water intrusion.
Polyurethane sealants: Ideal for outdoor applications, polyurethane sealants offer strong adhesion and resistance to harsh weather conditions.
Step-by-step application process
Begin by selecting a high-quality waterproof sealant suitable for LED lights based on your specific needs.
Apply the sealant evenly along the seams and edges of the LED lights using a small brush or applicator, ensuring complete coverage.
Allow the sealant to cure according to the manufacturer's instructions before testing the effectiveness of the waterproofing.
Using a Silicone Sleeve
In addition to sealants, silicone sleeves are an alternative method for waterproofing LED strip lights, offering added protection in challenging environments.
Benefits of silicone sleeves
Enhanced durability: Silicone sleeves provide an additional layer of protection against water damage, extending the lifespan of LED lights.
Easy installation: Simply slide the silicone sleeve over the LED strip light, ensuring full coverage without compromising flexibility.
How to apply a silicone sleeve
Choose a silicone sleeve that matches the size and length of your Waterproof LED strip light for seamless integration.
Carefully insert one end of the LED strip into the sleeve, gently pushing it through until fully covered.
Secure both ends of the sleeve to prevent water ingress, ensuring a tight fit that maintains optimal functionality.
Testing the Waterproofing
Methods to test waterproofing
Immerse Test: Submerge the Waterproof LED lights in a container of water for a specified period to assess their resistance to moisture penetration.
Visual Inspection: Examine the LED lights for any signs of water ingress, such as condensation or discoloration, indicating potential waterproofing issues.
Pressure Test: Apply gentle pressure using a soft cloth or sponge on the sealed areas to check for any leaks or weak spots in the waterproofing.
Troubleshooting common issues
Inadequate Sealant Coverage: If water seepage occurs, reapply sealant along the edges and seams of the LED lights to ensure complete protection against moisture.
Loose Silicone Sleeves: If silicone sleeves are not securely fitted, adjust and tighten them around the LED strip lights to prevent water from entering and causing damage.
Improper Cleaning: Inadequate cleaning before waterproofing can hinder adhesion. Thoroughly clean the LED lights with isopropyl alcohol and a lint-free cloth before applying sealants or silicone sleeves.
Incorrect Installation: Verify that all connections are secure and properly insulated to avoid exposure of wires, which could compromise the effectiveness of waterproofing.
Excessive Heat Exposure: Prolonged exposure to high temperatures can degrade sealants and silicone sleeves over time. Ensure proper ventilation and avoid placing LED lights near heat sources for prolonged periods.
Physical Damage: Any physical damage to the LED lights, such as cuts or tears in silicone sleeves, should be promptly addressed by replacing damaged parts to maintain effective waterproofing.
Testing Frequency: Regularly conduct waterproofing tests on LED lights, especially after exposure to harsh conditions or environmental changes, to identify potential issues early and prevent long-term damage.
Maintenance and Care
Regular Inspections
How often to inspect
Conduct routine inspections on your waterproof LED lights to ensure their optimal performance.
Schedule monthly checks to identify any potential issues early on.
Regularly monitor the condition of the sealants and silicone sleeves for signs of wear or damage.
What to look for
Examine the LED lights for any visible cracks or gaps that may compromise their waterproofing.
Check for discoloration or peeling of the sealant, indicating a need for reapplication.
Inspect the connections and wiring for any exposed areas that could be vulnerable to water infiltration.
Reapplying Waterproofing
When to reapply
Consider reapplying waterproofing when you notice signs of deterioration in the existing sealants or silicone sleeves.
If regular inspections reveal wear and tear, it is advisable to refresh the protective layers promptly.
Steps to reapply waterproofing
Start by cleaning the LED lights thoroughly as outlined in the cleaning process earlier in this guide.
Remove any old sealant or damaged silicone sleeves before applying new protective layers.
Follow the same application techniques with precision, ensuring complete coverage and proper sealing of all edges and seams.
Test the effectiveness of the waterproofing after reapplication through immersion tests or visual inspections to confirm enhanced protection against moisture.
By adhering to a regular inspection schedule and promptly reapplying waterproofing when necessary, you can maintain the longevity and efficiency of your LED lights in various environments effectively.
Illuminate your surroundings with the brilliance of waterproof LED lights. Safeguarding your LED lights against moisture and external elements is paramount to ensure their longevity and optimal performance. By following the detailed steps outlined in this guide, you can fortify your LED lights for any environment, be it a cozy kitchen or an adventurous outdoor landscape. Remember, the key to enduring LED light brilliance lies in proper waterproofing. Embrace these steps, and witness your LED lights shine brightly for years to come.
Testimonials:
Happy Customer: "Besides giving docks a lighting makeover, this company has the best waterproof LED lights to keep your boat looking awesome as you fish or hang out with your family and friends."